How to Create a Postgres Database in AWS RDS
Amazon Relational Database Service, AWS RDS is commonly used to store data for web applications. Most startups and companies will store their data in AWS because it's cost effective, easy to manage, highly available, and secured. Today it's all about using cloud providers like AWS to handle your software's infrastructure so that you can focus on building your platform. In this blog we will be learning how to create a Postgres database in AWS RDS.

Jordan Wu
5 min·Posted

Create a Free AWS Account
AWS Free Tier offers many of their products for free as free trials, or 12 months free, or always free. It's a good way to try their products at no cost. The AWS Free Tier for Amazon S3 will give us free storage of 5 GB for 12 months. That's potentially thousands of images being stored for free! After the free 12 months, it will cost a fraction of a penny to continue storing your data in S3 based on Amazon S3 Pricing. If you don't already have an AWS account. You can create a free account.
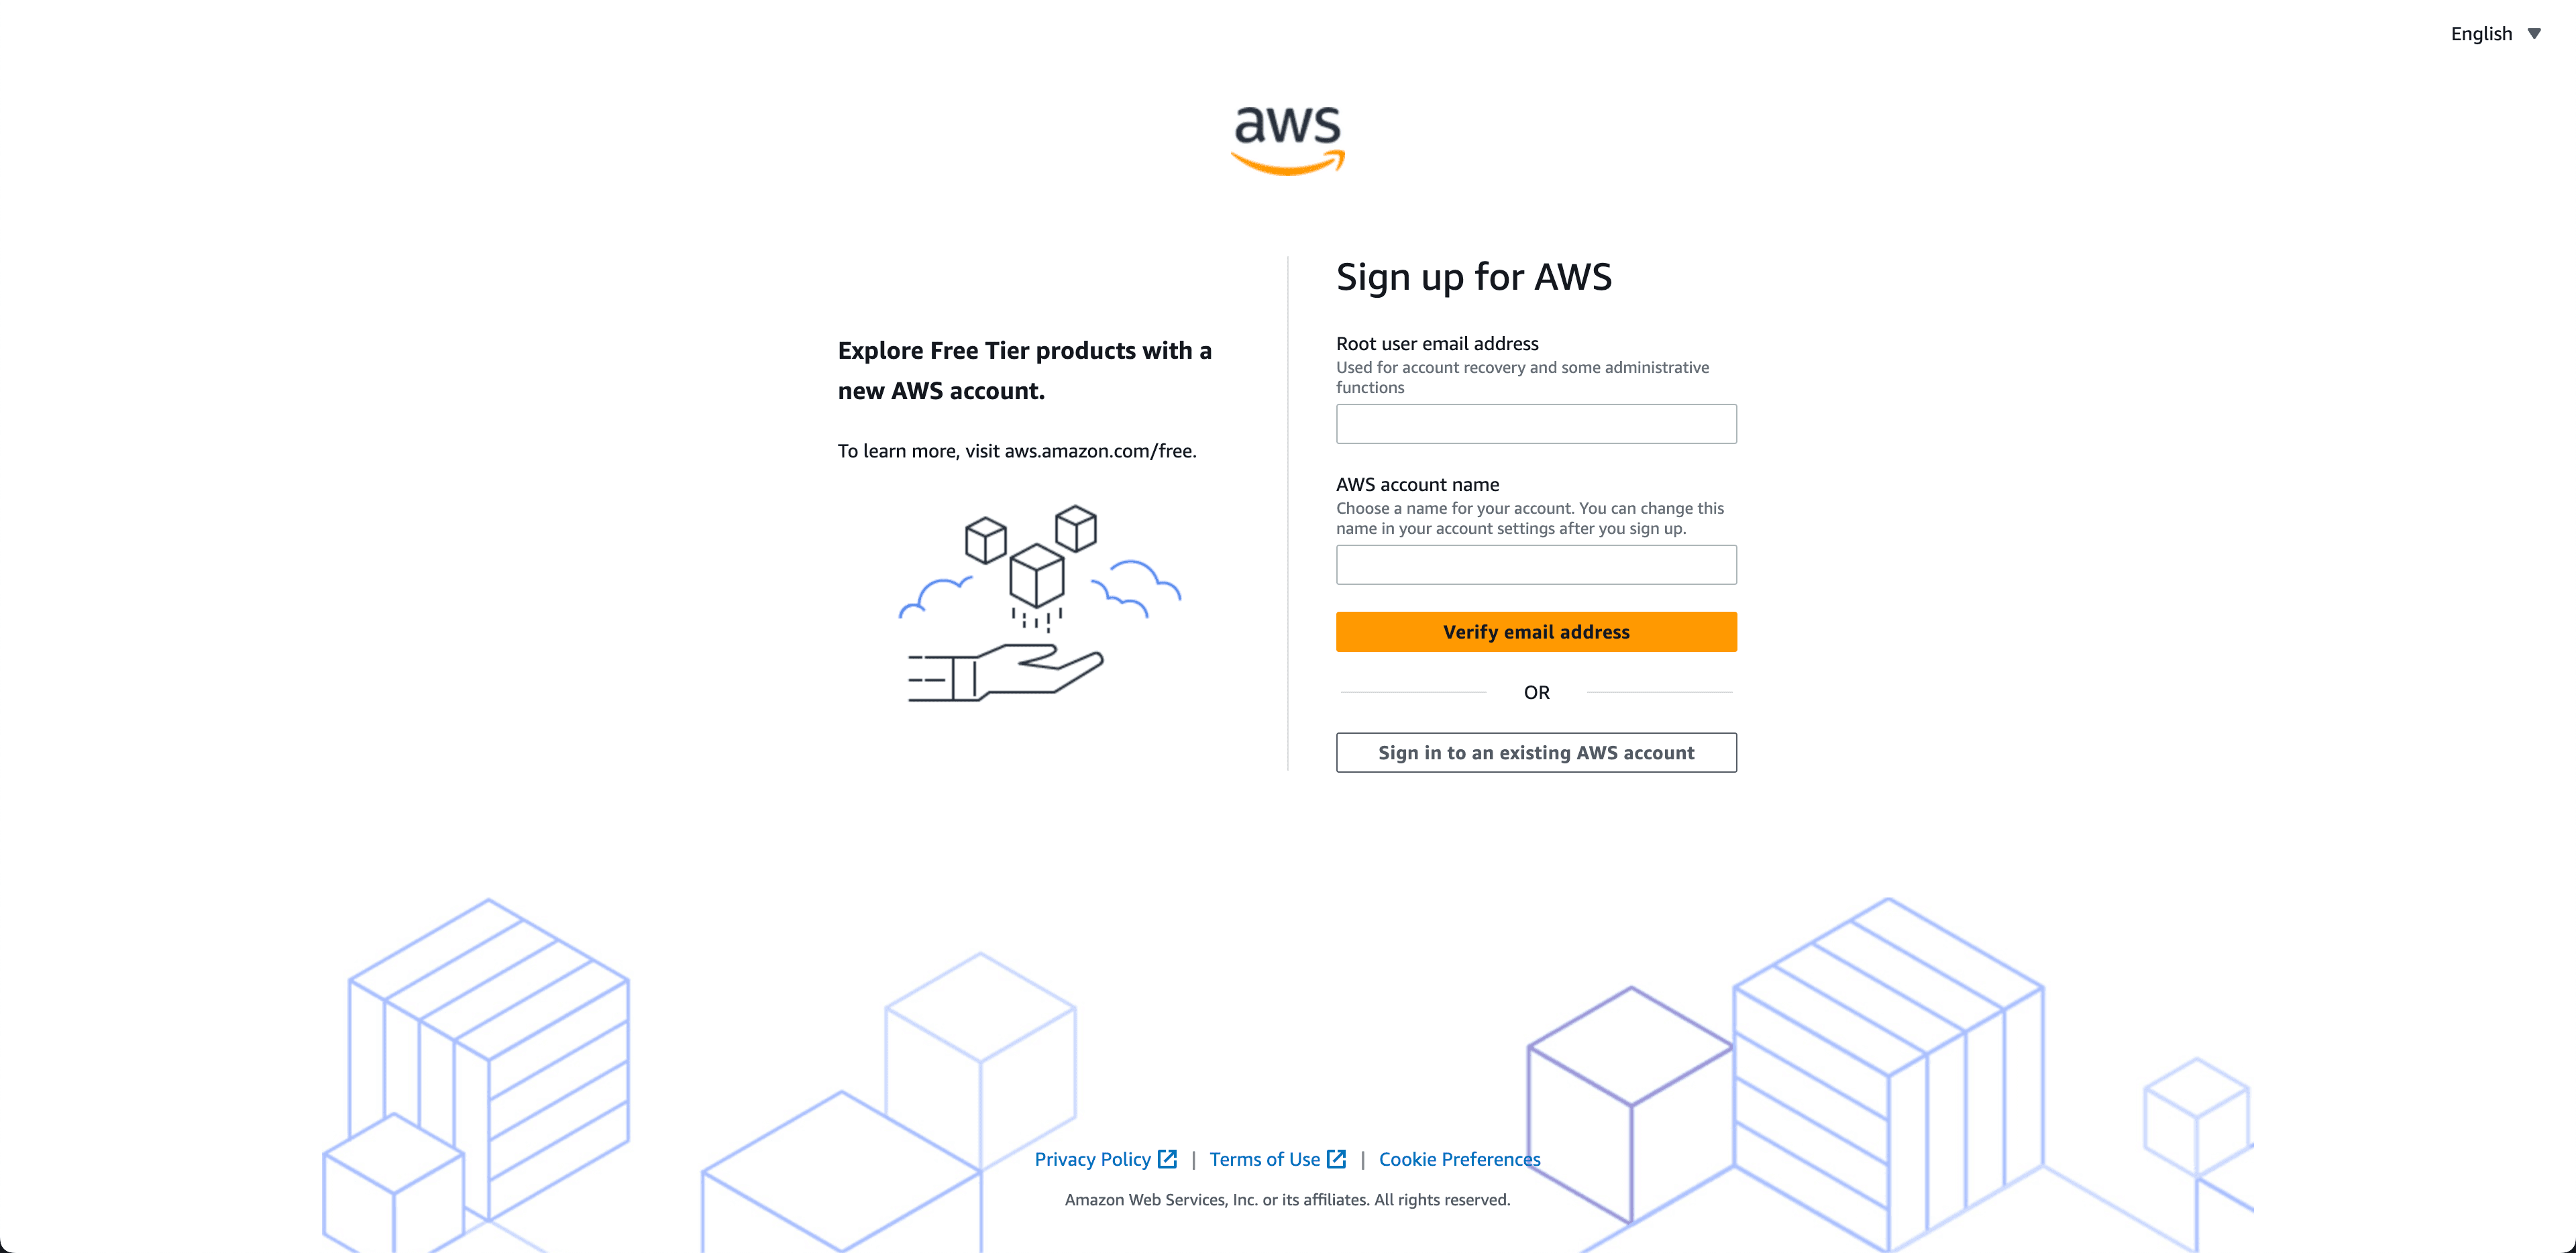
For "Root user email address" you would want to use your primary email address to help with account recovery. The "AWS account name" refers to the name associated with your AWS account. When you sign up for an AWS account, you provide a name for your account during the registration process. This name can be used for identification and organization purposes within the AWS Management Console and other AWS services.
Create a Postgres RDS
- Sign in to the AWS Management Console and open the Amazon RDS console at https://console.aws.amazon.com/rds/.
- In the upper-right corner of the Amazon RDS console, choose the AWS Region in which you want to create the DB instance.
- In the navigation pane, choose Databases.
- Choose Create database, then choose Standard create.
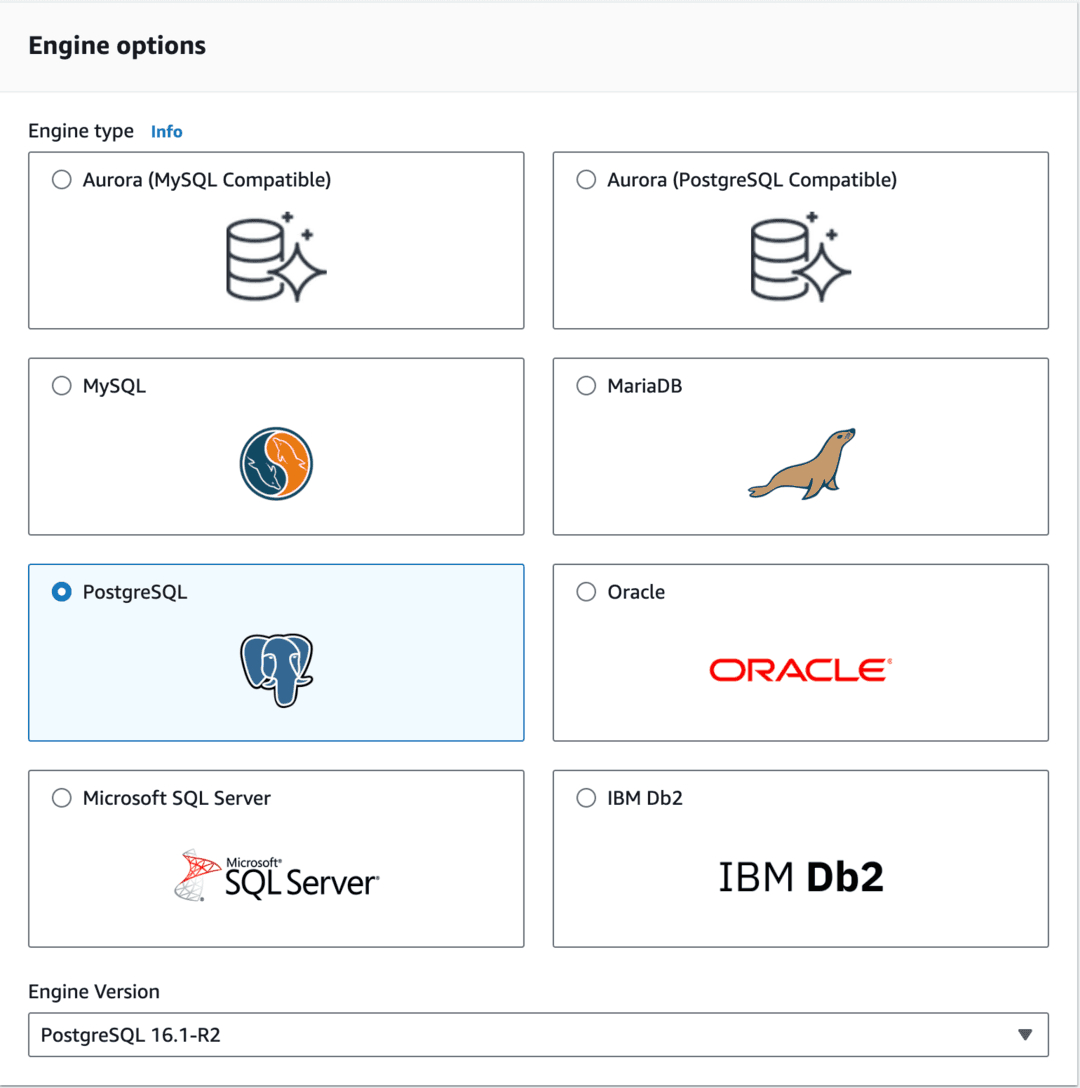
- For Engine type, choose PostgreSQL.
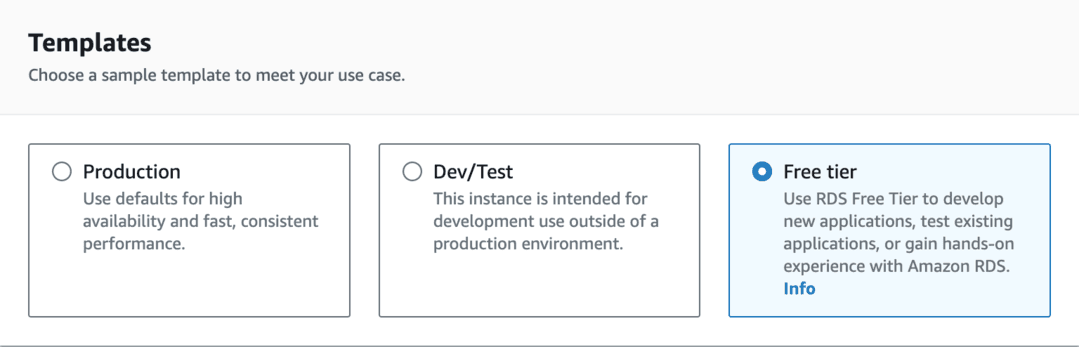
- In Templates, choose the template that matches your use case. Choose Free Tier.
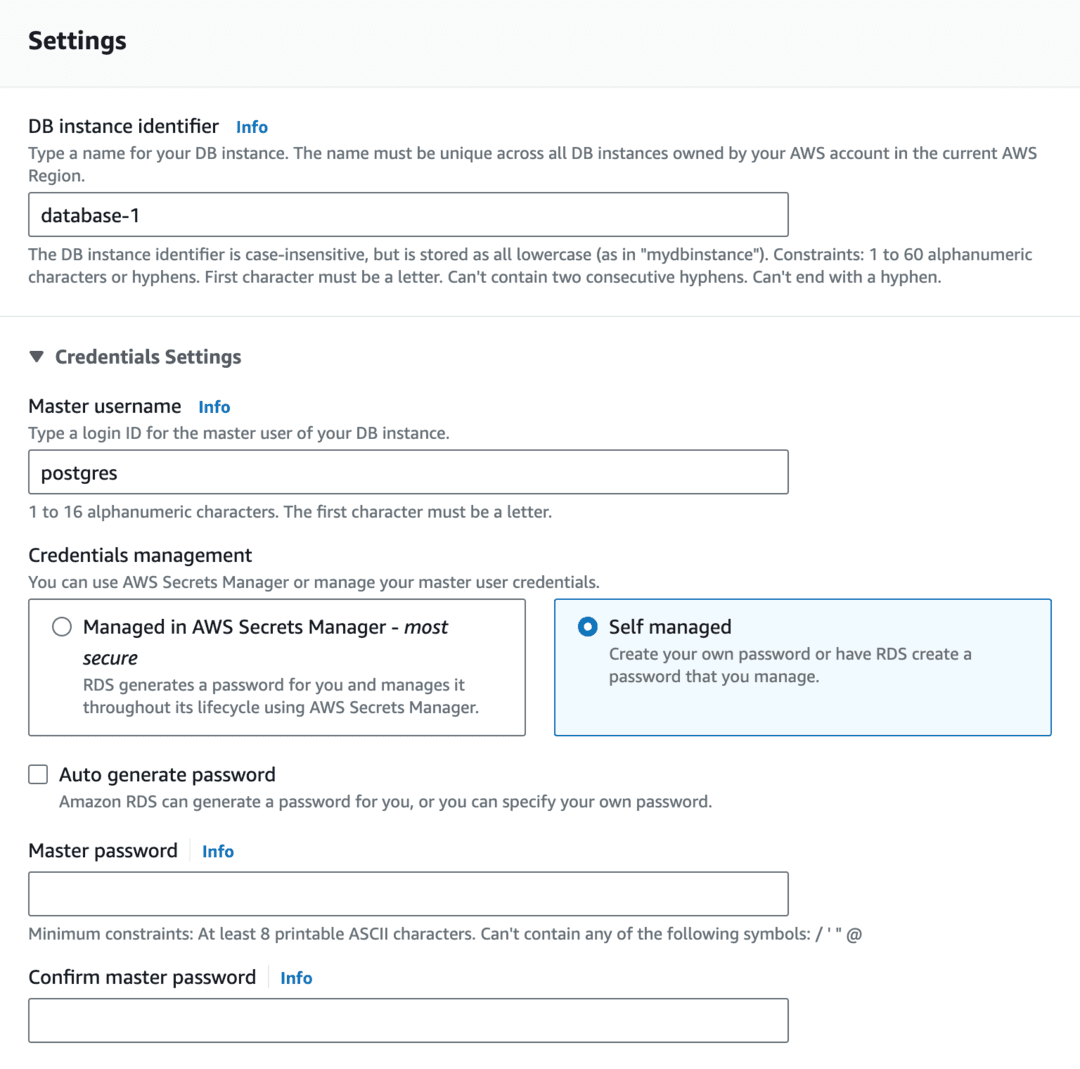
- For a Self managed RDS, to enter your master password, do the following:
- In the Settings section, open Credential Settings.
- (Optional) Change the DB instance identifier value.
- If you want to specify a password, clear the Auto generate a password check box if it is selected.
- (Optional) Change the Master username value.
- Enter the same password in Master password and Confirm password.
- (Optional) Set up a connection to a compute resource for this DB instance. You can configure connectivity between an Amazon EC2 instance and the new DB instance during DB instance creation. For more information, see Configure automatic network connectivity with an EC2 instance.
- In the Connectivity section under VPC security group (firewall), if you select Create new, a VPC security group is created with an inbound rule that allows your local computer's IP address to access the database.
- For the remaining sections, specify your DB instance settings. For information about each setting, see Settings for DB instances.
- For Monitoring, clear Turn on Performance Insights if it is selected.
- Choose Create database.
Accessing Postgres Database
On the RDS console, the details for the new DB instance appear. The DB instance has a status of Creating until the DB instance is created and ready for use. When the state changes to Available, you can connect to the DB instance. To access your database you would need the RDS Endpoint, username, and password.
You can find the Endpoint once you selected your database identifier in Databases. It should show up in the Connectivity & security table.
For the username you can find it in the Configuration tab. You are not able to see the password value and should have stored it somewhere. If you forgot what your password was. You can reset it by clicking Modify and then enter a new password, then click Continue at the bottom.
There is another step if you want to allow IPv4 addresses access to it. This can be done by selecting the VPC security groups in Connectivity & security. Once you selected the VPC security group for your database. Select Inbound rules and then Edit inbound rules. You can select PostgreSQL for the Type and enter in your IP Address or select 0.0.0.0/0 for now to allow all IP addresses.

Now you should be able to access your Postgres database on your local machine or on your web application. For example, if you are using Prisma as your Object Relational Mapper ORM library you can use the following url:
postgresql://USER_NAME:PASSWORD@ENDPOINT:5432/DATABASE_NAME?schema=public
If you want to learn more check out How to Add Prisma Postgres Database Adapter to Your Next.js App
